It is very normal to notice your skin changing after 30.
I am currently 37 years old, and my number one problem is the very undesirable large pores due to lack of elasticity. It is not too bad, but I can notice how quickly my skin is withering and loosing that gloss you used to have when you were younger.
The famous skincare brands are too expensive to be buying them on a regular bases, and the ones I have tried in the past are good, but honestly I have not used them long enough to say they have made a difference in my skin.
I am those lucky people whose body respond pretty well to natural remedies, so maybe that is why I am a believer in the power of nature and the potential in the human body.
I recall I have always been interested in natural remedies since I was a kid, but never really dig into it until last year when my body decided to step into the next cycle of my life. Things changed. My body was not the same anymore. I felt it started a ‘mature’ phase of the adult body.
Since this change came into my life and my body was not the same anymore, I knew I had to start learning how to really take care of it in order to keep it healthy and be able to welcome age gracefully.
I have been trying various natural remedies to treat different things on a daily basis, but lately I have been very interested in start creating my own skincare products.
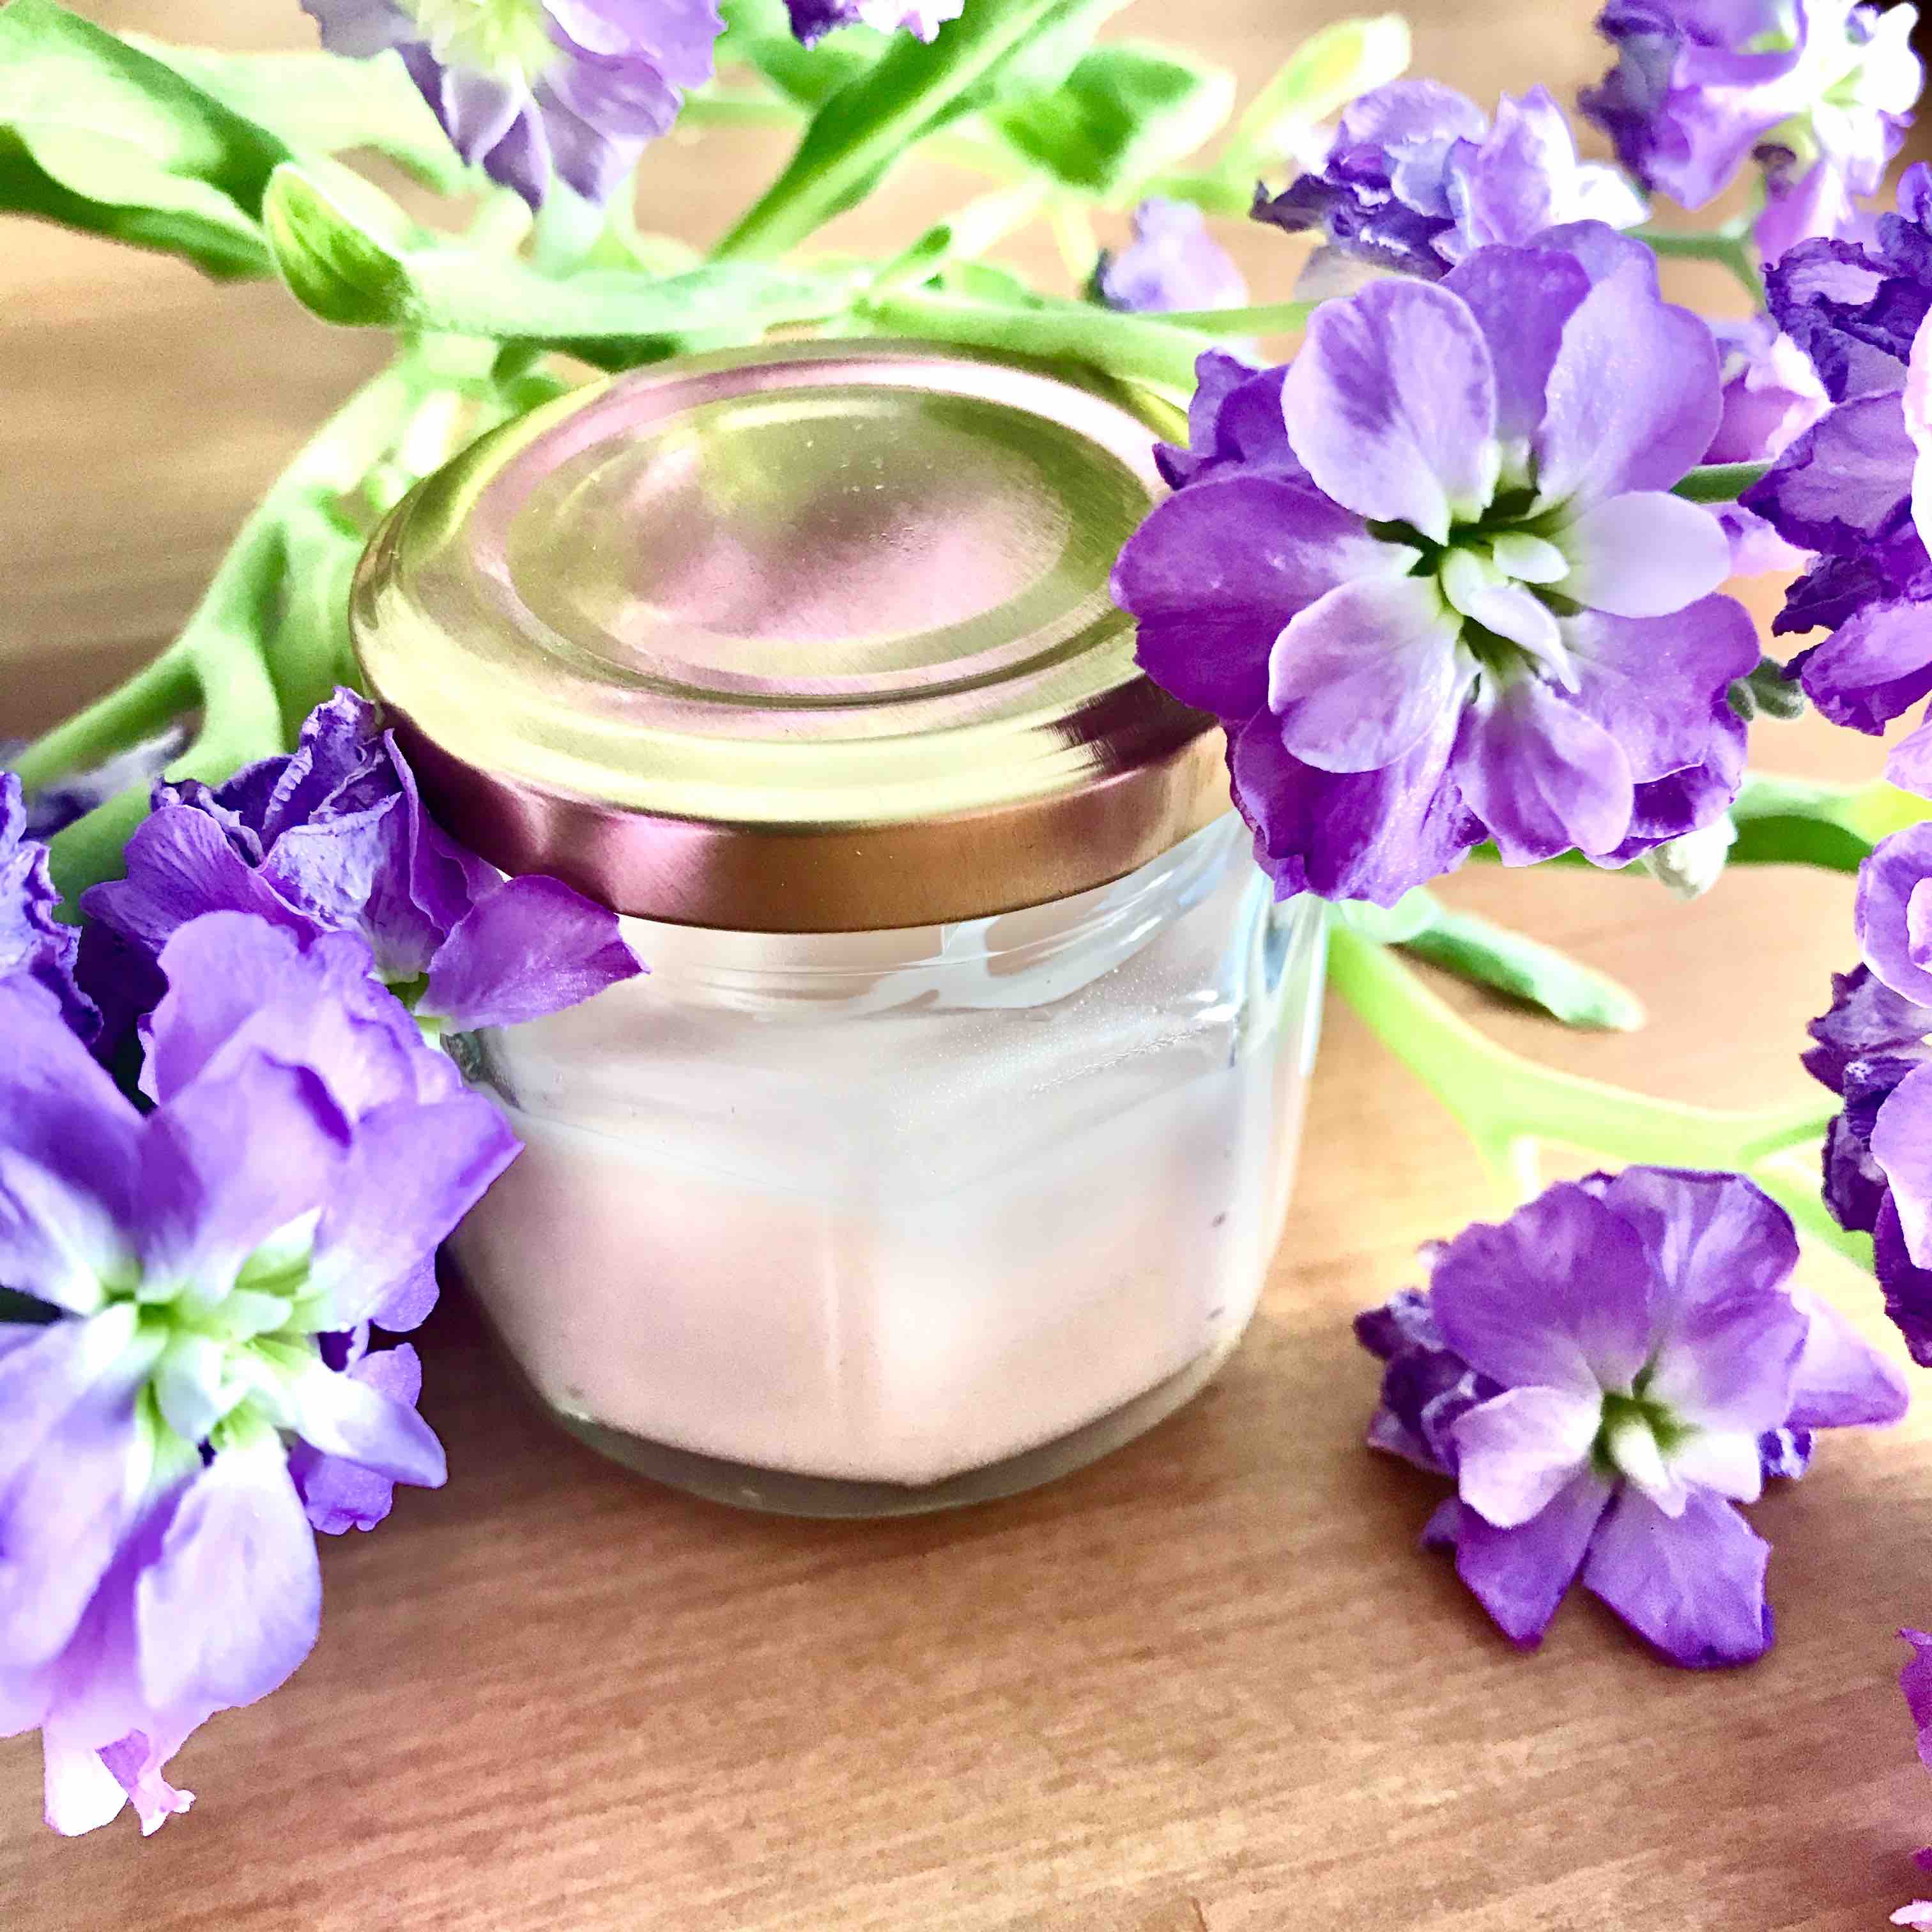
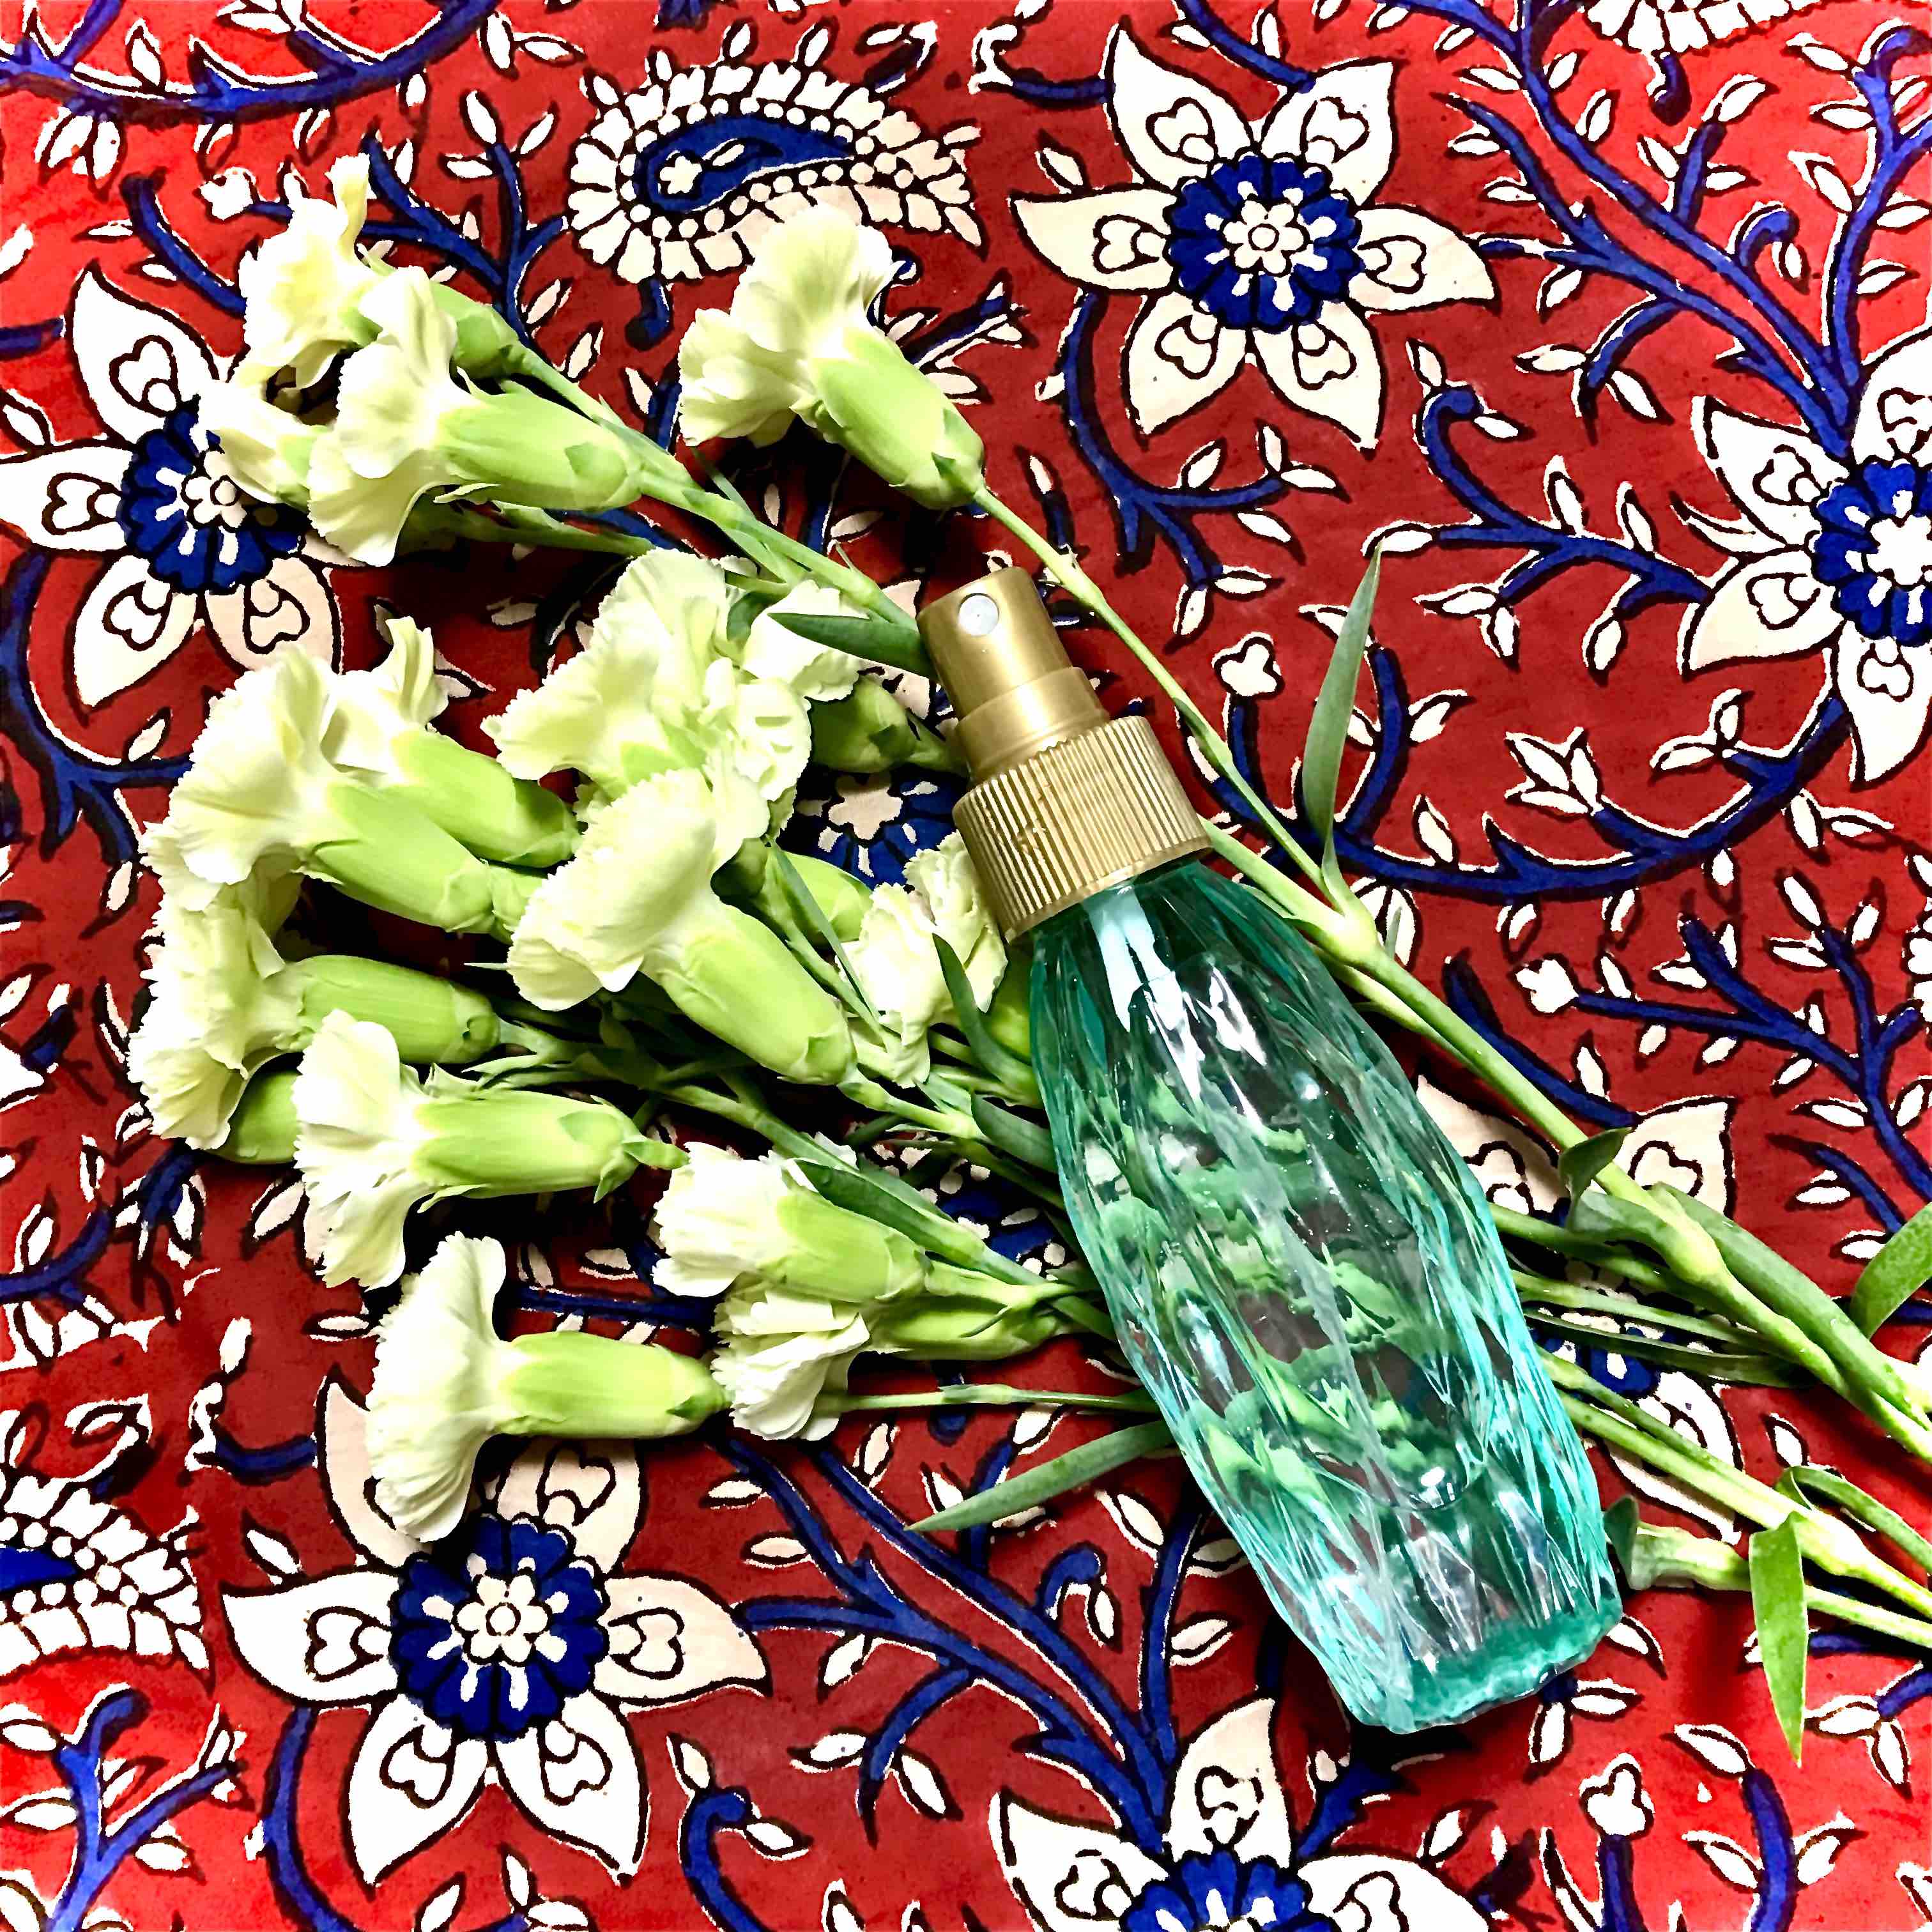
The first product I created was a lotion to tighten my loose skin and pores. I have been using this lotion for months now, and besides been super cheap, I can notice how kind it is for my skin and how relaxed it looks after applying it. In regards to the pores, it is not that easy to tighten them but I can definitely notice a difference.
I leave you my recipe below, but please have in mind recipes are just a guide. The beauty of these natural remedies, is that you do not need to be too precise, but rather pay attention to your skin every day, and adjust the amounts or the ingredients for your skin type.
For example in winter, since my skin is very dry I need to increase the amount of glycerin, so the measurements will never be the same every time.
However, The only thing I would say to be more “precise”, is the amount you use of the essential oils. Since these are concentrated, you might want to add just two drops (one drop=0.025ml) per 10ml of the base liquid.
Anyways, just be flexible and have fun!
- Amount to make: 100ml
- Refrigerator storage: 2 weeks
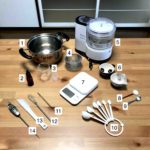
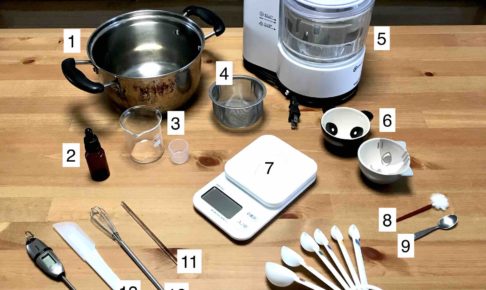
Tools
- Measuring cup/Beaker: 10 ml and 100 ml
- Spray bottle: 100ml
- Spoon/Glass stirring rod (for mixing): 1
Materials
- Ethanol: 1ml
- Essential oils*: 10 drops in total (1 dropper: 0.05ml, concentration: 0.5%)
- Geranium: 2 drops (improvement of wrinkles and blemishes, anti-aging, balance of sebum secretion)
- Frankincense: 2 drops (skin regeneration, improvement of wrinkles and sagging skin)
- Lavender: 2 drops (bactericidal action, reduction of skin inflammation, antibacterial effect, promoting skin metabolism)
- Rosemary: 4 drops (strong astringent action, improvement of sagging skin and wrinkles)
- Hyaluronic acid: 1ml (excellent water retaining agent)
- Glycerin: 2ml (humectant, softener)
- Purified water: 96ml
* If you have sensitive skin, please do a patch test and monitor any changes for 12-24 hours.
Steps
- Wash and disinfect the beaker and spray bottle (you can also disinfect it with ethanol).
- Add the ethanol in the beaker and mix all the essential oils.
- Mix the hyaluronic acid and the glycerin in the beaker.
- Add the purified water in the beaker and mix it until the above is dissolved.
- Put everything in the spray bottle!
What are you waiting for? Time to spray your face!